Saturday, 22 November 2014

Super simple duck confit

Who doesn't love duck confit? The traditional way to prepare this dish takes a long time and quite a bit of effor, or you have it when you go out for a nice dinner. With this recipe you can re-create this luxurious dish, with tender fall off the bone meat and sinfully delicious crispy skin in a couple of hours....Since the duck legs are not submerged in duck fat (which is how it is normally prepared) it makes it a bit healthier....But at this point in time...who cares:) It is duck confit! Give it a try!

What you will need.

4 Duck legs 
coarse salt

What to do...
If your duck legs are frozen, leave in the fridge overnight to defrost.  I got fresh duck legs for our local butcher shop. 
Pat the duck legs dry and salt them very liberally. 
Then, using a pointy knife prick the skin of each leg all over (try and avoid piercing the meat). I find that the best way to do this is to lift off the skin with one hand and prick it on an angle. This will allow the fat to seep out, giving you the super awesome crispy skin.
Put them in a casserole dish (I like using my dutch oven) so that they fit snugly together but do not overlap. 
Let them rest at room temperature for about 30-40 min.
Then put them in the oven and turn it to 300F (NO preheating). Yes, you put them in a cold oven, this is very important because you want to cook them as gently as possible.
After about 2 hours, have a look at the legs, they should be partially submerged in fat and the skin should be getting crispy. Turn up the heat to 375F  and continue to cook for another 15-20 min. At this point in time the skin should be gold-brown.
Take it out of the oven and let it rest for about 10 min before digging in. Stain the fat and keep for roasting potatoes....Yummy!
I served with a kale and slaw salad with pumpkin seed and cranberries.


Wednesday, 19 November 2014

Chocolate Almond Torte

This is my first attempt at this grain free six layer torte. I  made it for my mom's birthday and it turned out quite well. I tweaked the original recipe a bit and will definitely be making it again.The only tricky part about the cake is the making sure the layers are evenly stacked so you don't end up with a lopsided cube:)  You can top with with raspberries or blackberries, as I have chosen.It doesn't look like a big cake but trust me, it feeds 8-12 easily. 

Here is what you will need to make the cake...
1 1/4 cups of unsalted butter at room temperature
1 cup of sugar
9 eggs separated
10 oz of  good quality (70% cocoa) dark chocolate, shaved (I used a sharp knife, or you can use food processor)
2 3/4 cups of almond flour
For the ganache
3 cups of semi-sweet chocolate chips or finely chopped dark chocolate
3 cups of heavy whipping cream (35% MF)

Blackberries for garnish (I used 2 pints)

How to make it.
Preheat oven 350F
Grease a 13 x 18 inch baking sheet and line with parchment paper

Using your trusty mixer, cream butter and sugar until light and fluffy
Add egg yolks one at a time and incorporate well
Add the chopped chocolate and almond flour and mix on low speed until well incorporated. Turn the speed up and mix  for a another min or so.

In a separate bowl beat the egg white together until soft peaks form (make sure you don't over beat them)


Mix about a third of the egg whites into the chocolate mixture, this will lighten the batter and make it easier to fold in the remainder of the egg whites.
Fold in the remaining egg whites.

Pour the batter onto the prepared pan and use a spatula to smooth the mixture out, making sure it is very even. 
Bake for approximately 20, until tester comes out clean.
Allow the cake to cool in the pan completely on a cake rack. 
Once the cake has completely cooled invert it onto another cookie sheet or large cutting board and peel the parchment form the top of the cake.

For the chocolate ganache...
Place heavy cream in a bowl in microwave just until bubbles start to form.
Pour over the chocolate chips or chopped chocolate and let sit for 3-5 min.
Mix until the chocolate is melted and is smooth and silky.
Pour 1/3 of the ganache over the cake and spread it out evenly over the cake. Refrigerate cake to help the ganache cool completely.
Cut the cake into three equal pieces.
Stack the pieces and then trim the edges so that they are smooth. Then cut the cake in half.
Stack the two pieces to create a cube. (My cube turned out a bit lopsided, so added some of the trimmed pieces to even it out.
Place the cake on a cooling rack set over a baking pan, to catch the dripping ganache. Pour the remaining ganache slowly over the top of the cake. You will have to go over it a few times to make sure the cake is covered completely.

Decorate with the berries.


Tuesday, 18 November 2014

Honey, orange and ginger crockpot chicken

Man, this dish is delicious! Especially, when you are craving some Chinese takeout. Yet, it is a fraction of the cost and is free of  refined sugar and all the other additives of Chinese food :) It has a great balance of sweet, salty and spicy flavours and the actual sauce works well with salmon as well,(just not in the slow cooker ;)
The best part is...you mix all your ingredients in a bowl, turn on on your crock pot, throw in your chicken and pour the sauce over it and...well....go away, do your nails, do some shopping, take a nap, whatever you fancy:) 

What you will need

2 lbs of boneless, skinless chicken thighs 
1/3 cup of tamari gluten free soy sauce (or regular soy sauce if you choose)
1/3 cup of honey
4 tbsp of freshly squeezed orange juice (approx, the juice of one large orange)
1 tbsp of sesame oil
2 tbsp of tomato paste
3 cloves of garlic, minced
1 tsp of grated fresh ginger
1/2 tsp of red chili flakes (more or less,depending on taste)
1/4 tsp of freshly ground black pepper

Mix all the ingredient in a bowl. Turn on your crock pot on low and set for 4 hours. Place your chicken thighs on the bottom and pour sauce over top. Put on the lid and go shopping :)
 After the 4 hours are up, take out the chicken and chop up in bit size pieces, set aside. Pour the sauce in a sauce pan and simmer for about 15 min until it thickens. Pour the sauce over the chicken and garnish with chopped green onions and toasted sesame seeds. Serve over brown basmati rice or cauliflower rice


Recipe courtesy of Against all Grain.

Asian style beef and cauliflower rice bowls

I am always looking for different ways to cook ground beef.  This is an inexpensive and quick meal you can pull together on a week night and it will taste as if you put in a lot more effort and time than you actually did ;)


You will need...
1-11/2 lbs of lean ground beef (or a blend of beef and pork)
1 tbsp of grape seed oil (or oil of your choice for frying)
2-3 tbsp of honey or brown sugar 
1/4 cup of low sodium soy sauce (tamari sauce or coconut aminos will work as well)
1 tbsp of sesame oil
3 garlic cloves, chopped
1 tsp of freshly grated ginger
1-2 thai chillies, seeded and finely chopped (depending on how spicy you like it)
1 tbsp of fish sauce 
salt and pepper to taste
1 bunch of green onions

Heat a large frying pan over medium heat and add the grape seed oil. Season the beef with salt and pepper and mix well. Fry the  beef in the hot pan for 5-7 minutes until crisp and brown. Remove beef and set aside. Drain the fat and wipe out the pan.  
Add the sesame oil, then add the garlic, ginger and chillies. Fry for about a  minute.
Add in the ground beef and the remaining ingredients, except for green onion.
Cook for an additional 5-8 minutes to allow the flavours to come together.
Serve over cauliflower rice and top with chopped green onions.

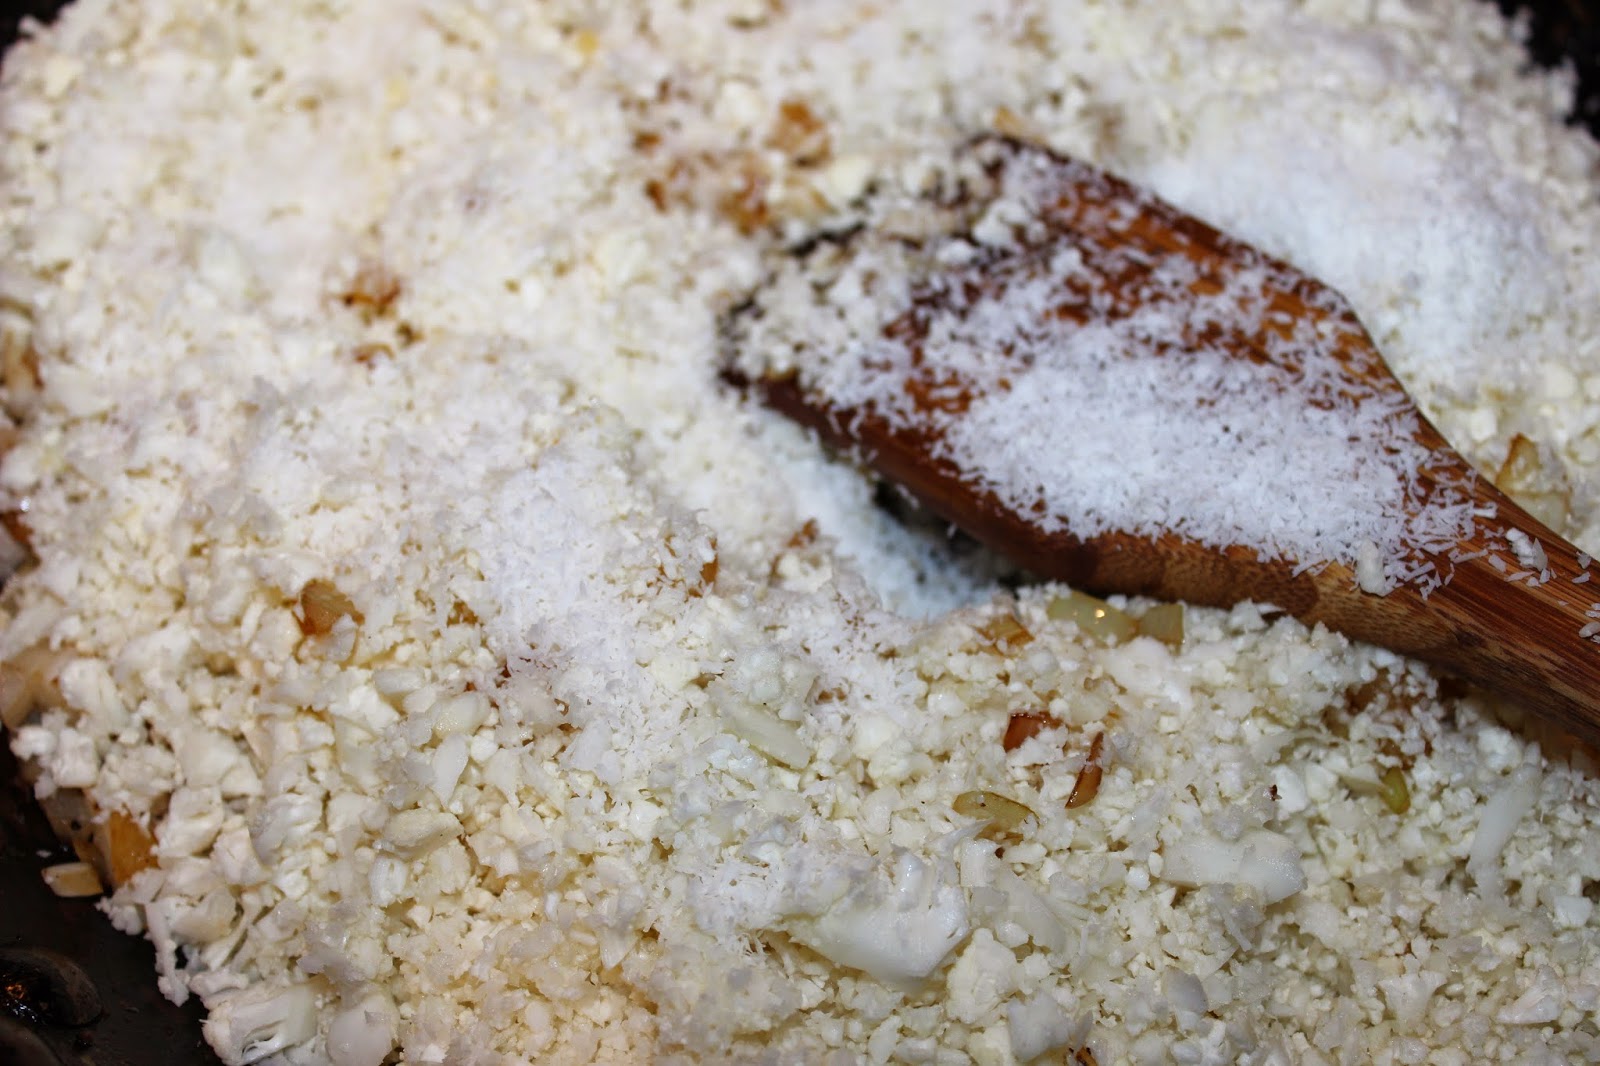
Cauliflower Coconut Rice
1 medium head of cauliflower, washed and chopped  (using food processor) to about the size of a grain of rice
1/2  an onion, finely diced
1/4 cup of shredded unsweetened coconut flakes (optional)
1 tbsp of coconut oil (or oil of your choice)

In a large pan, saute the onion in coconut oil over medium heat.
Add in your cauliflower and coconut.
 Mix well and cook for  about 5-8 min. You don't want the cauliflower mushy.


Recipe adapted from Lizzy Writes